

Creating Your First Project
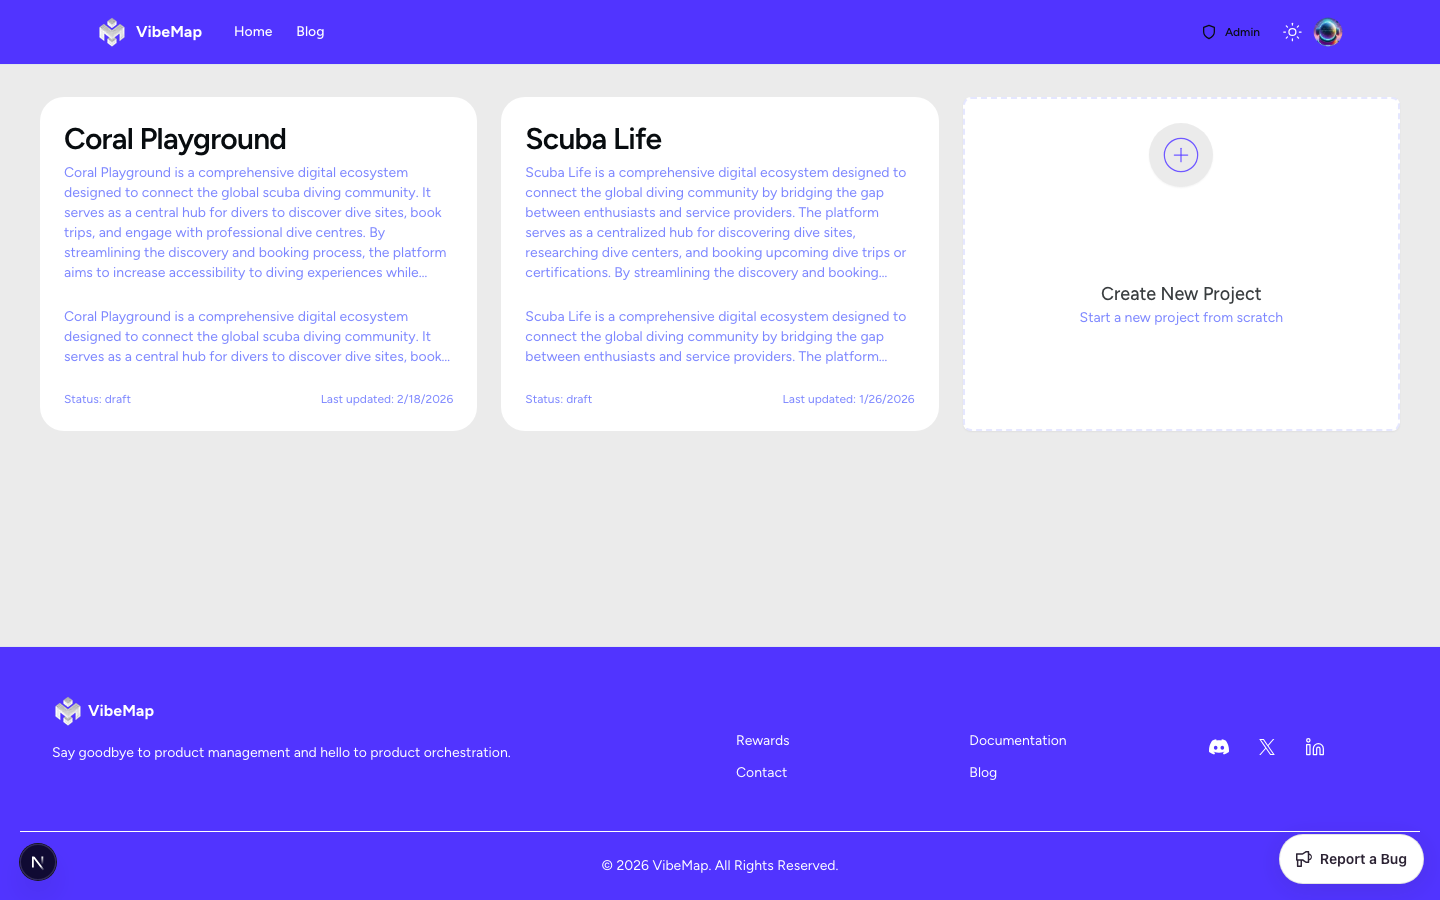
The journey starts on your dashboard, where you can manage all your active and past projects. This is where you'll initiate the AI-driven analysis that forms the core of Vibemap.
Project Creation Form
Accessing Project Creation
Navigate to your dashboard after authentication.
Click the "New Project" button in the top right or the main empty state.
You will be taken to the Project Creation page.
Project Creation Form Fields
Vibemap uses a template-based approach to help you write the best possible prompt for the AI.
Required Fields:
Project Name: A descriptive title for your application.
Input Type: Text input
Character Limit: 100 characters
Validation: Required field, must be unique across your projects.
Placeholder: "Enter your project name"
Project Description (Prompt): This is the most important field. Describe what your app does, who it's for, and its core features.
Input Type: Multi-line textarea
Character Limit: 5000 characters
Validation: Required field (minimum 50 characters).
Placeholder: "Describe your project in detail..."
Configuration & Settings:
AI Model Selection: Choose between several high-performance AI models (like Claude 3.5 Sonnet or GPT-4o). Different models may have different strengths in architectural reasoning or creative feature generation.
Architecture Toggles: Define technical preferences like Framework (Next.js), Database (Supabase), and UI Library (Tailwind). These settings guide the AI when it eventually generates code and schema.
Writing Effective Project Descriptions
Best Practices
Include these elements for the best results:
Target Audience: Who will use this application?
Core Functionality: What are the 3-5 main features?
Technical Constraints: Any specific needs (e.g., "Must work offline", "Stripe integration").
Business Goals: What are you trying to achieve?
Using the Template
Vibemap prepopulates the description field with a structured template to guide you. We highly recommend following this structure:
Project Creation Process
Follow these steps to successfully create and analyze your first project:
Click "New Project"
Start from your dashboard by clicking the primary "New Project" button.
Fill in Details
Enter your project name and complete the prompt template. Remember, a minimum of 50 characters is required, but 300-800 characters is optimal for high-quality analysis.
Configure Settings
Select your preferred AI model and set your application architecture preferences (Next.js, Supabase, Tailwind, etc.) using the toggles.
Click "Create Project"
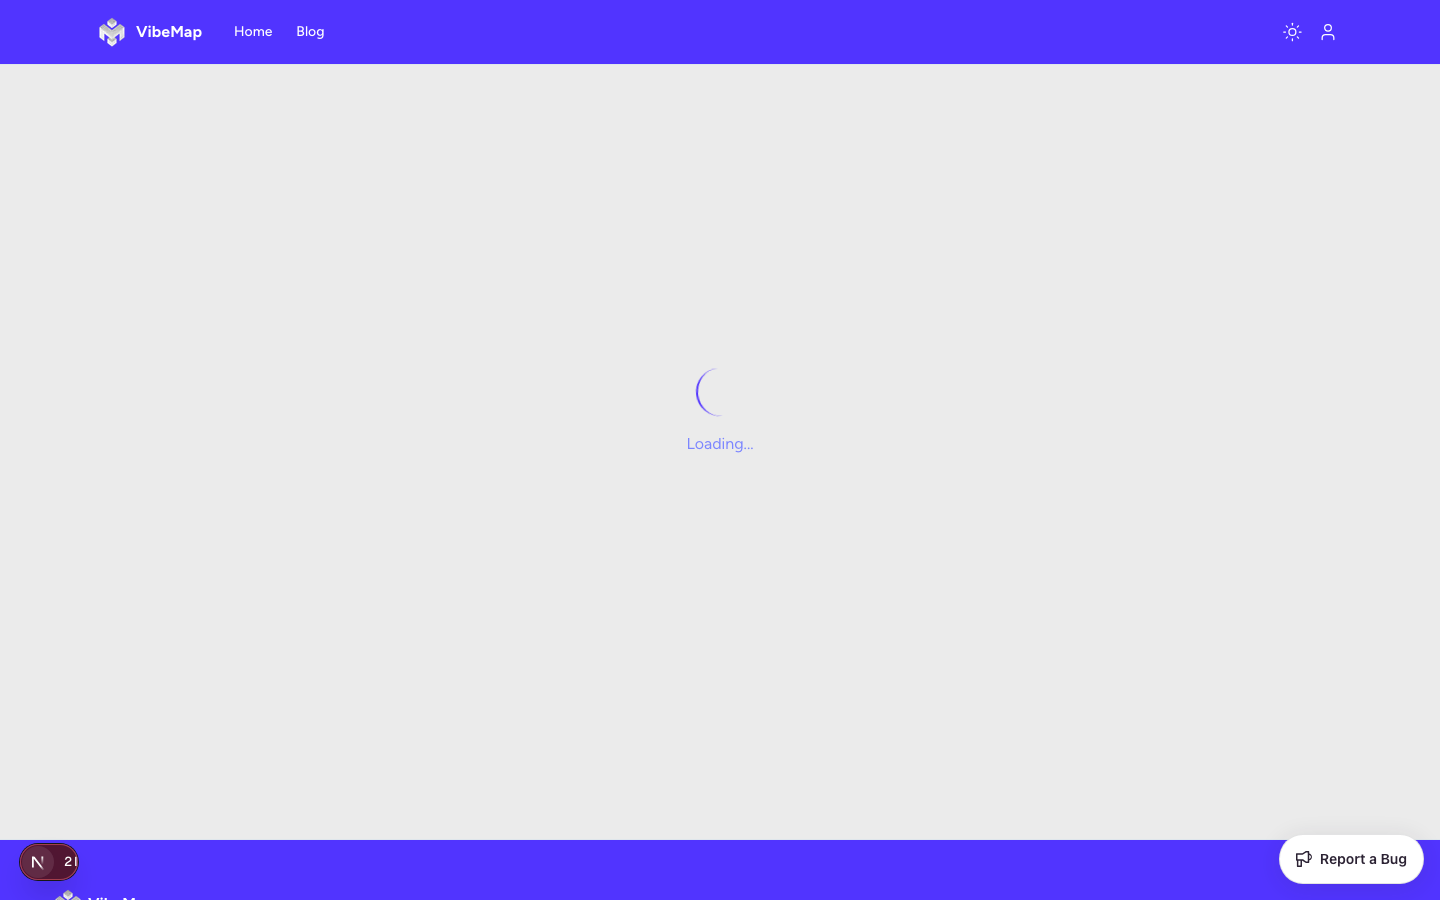
Once you click "Create Project", the AI will begin analyzing your prompt immediately. You will see a loading state while the "Project Summary" subagent processes your request.
Initial Analysis Success
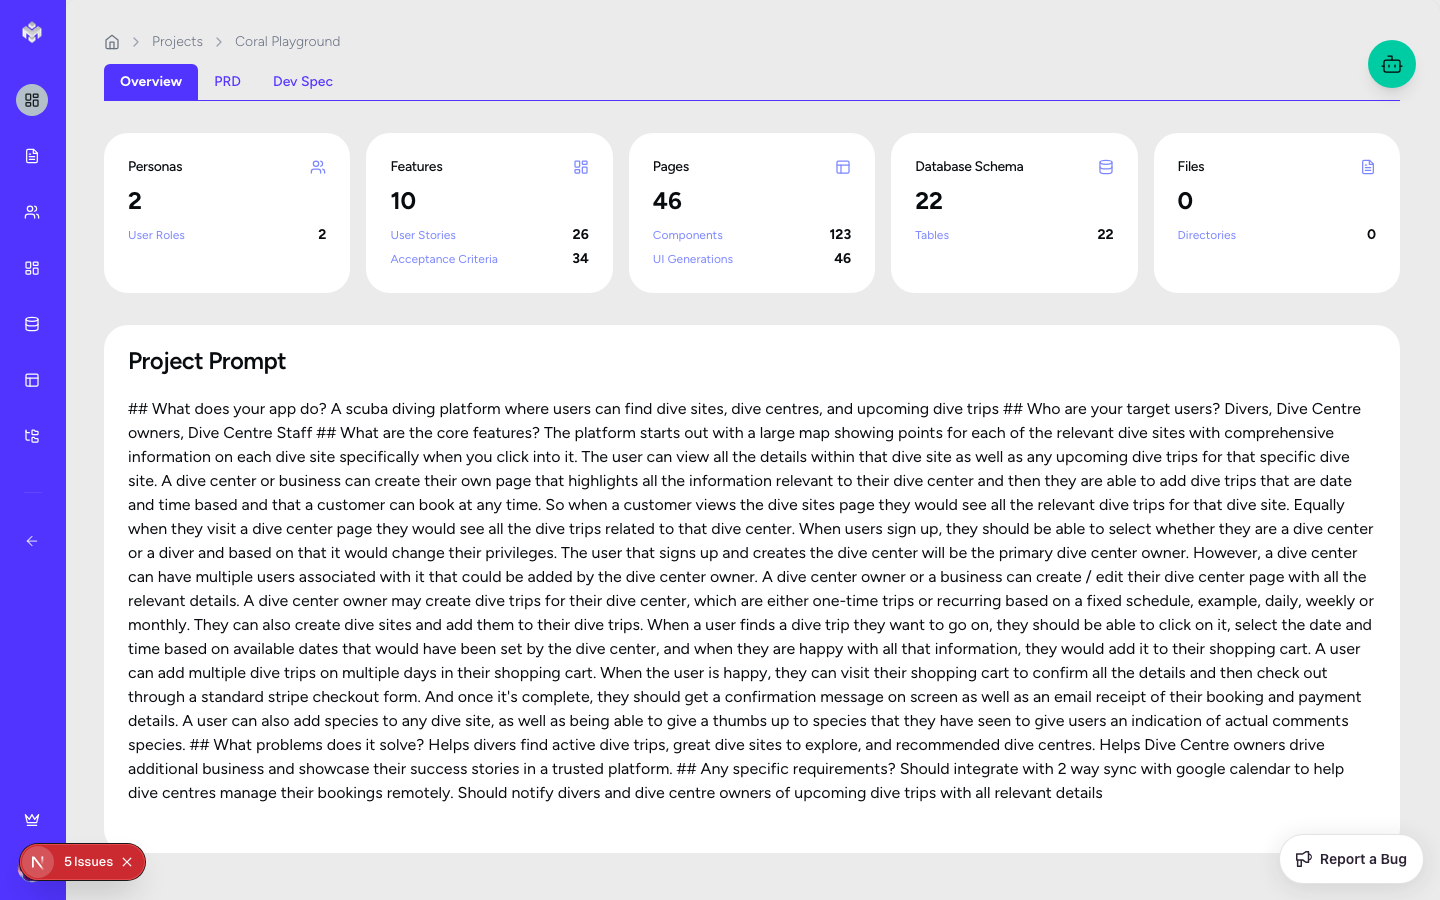
Upon successful project creation, the system performs several automated steps:
AI Decomposition: The system breaks down your prompt into key entities, business logic, and technical requirements.
Project Summary Generation: You are redirected to a comprehensive summary page where an executive summary and technical recommendations are displayed.
Redirection: You are automatically moved to the Project Overview tab.
Ready State: Your project is now fully initialized. The tabs for Personas, Features, and Schema are now available for generation.
Last updated
Was this helpful?